Traditionally, when connecting a Google Compute Engine instance to a Cloud SQL database, the Cloud SQL Proxy was commonly used to facilitate secure connections. The Cloud SQL Proxy acted as an intermediary between the application running on a Compute Engine instance and the Cloud SQL database. It helped to secure the connection by using the Cloud SQL IAM database authentication and provided a way to connect to the database using a Unix socket.
However, Google introduced Private Service Connect to this mechanism to allow Google Compute VMs to connect to Databases through private IPs. With Private Service Connect, you can create a private connection between your Google Compute Engine instances and your Cloud SQL database without needing the Cloud SQL Proxy. Private Service Connect enables secure and direct communication between the instances and the Cloud SQL database using private IP addresses.
The new approach immediately avoids introducing another hop in our network hop to send data from our application in a Google Compute Engine (VM) to the Cloud SQL database. The rest of the post kind of mentions how we can do so (almost similar in experience as though it’s just another “VM” on our internal network)
Setting up a Cloud SQL database #
We can set up a Cloud SQL database to test this feature out. I have a sample application that would interact with a MySQL database. The important bit when setting up the Cloud SQL instance would be to set the proper exposure of the instance in a private manner.
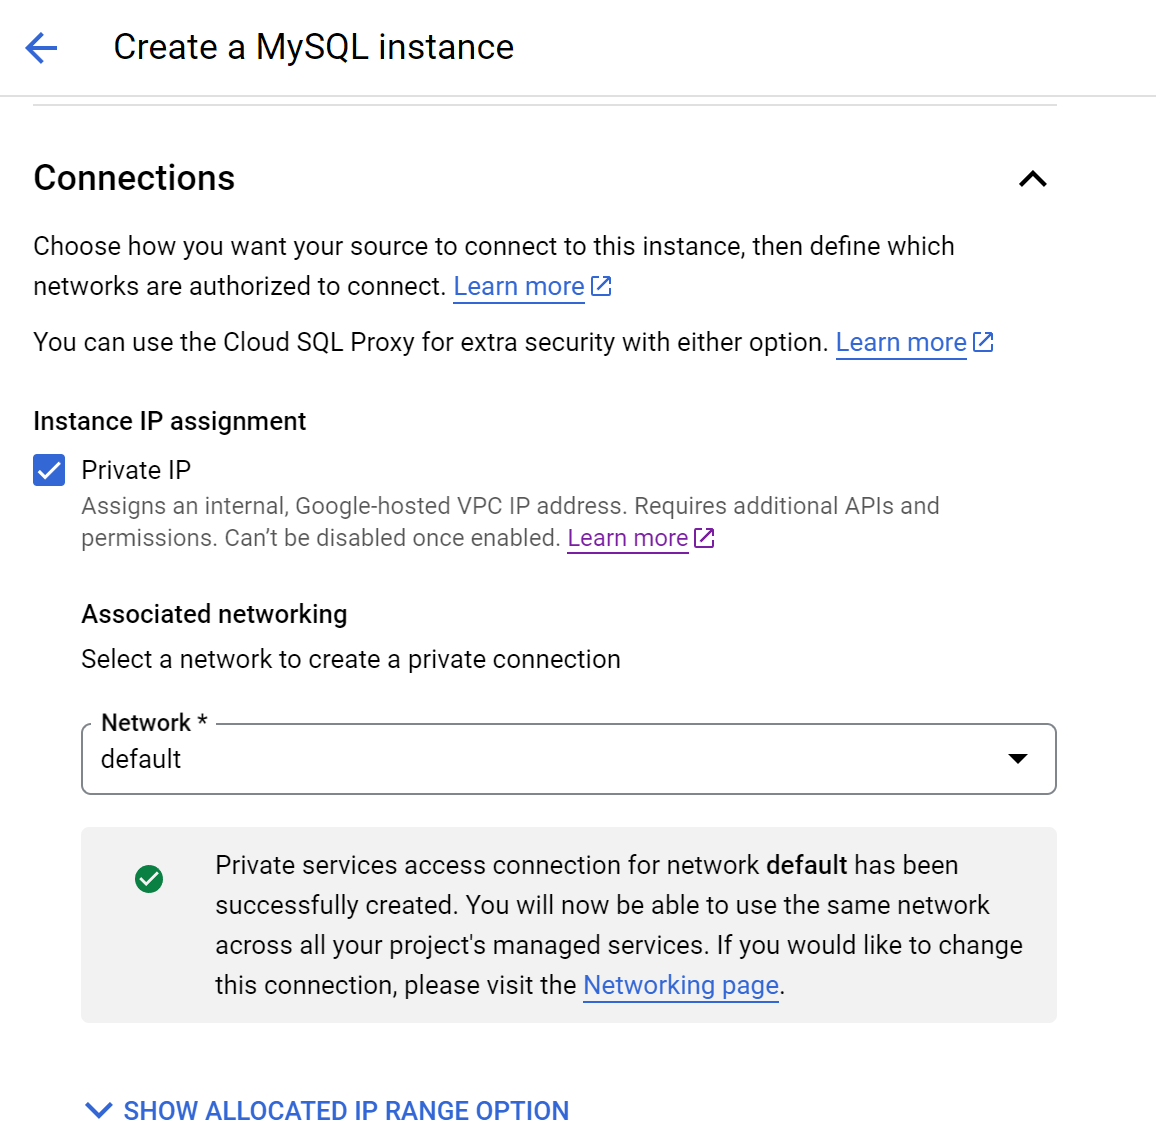
After creating the instance, it should provide a private IP address where our instance should be able to access it.
Using mariadb-client to connect to our database #
Apparently, the ping command is unable to accesss or check the the ip address of the sql instance.
ping x.x.x.x
PING x.x.x.x (x.x.x.x) 56(84) bytes of data.
^C
--- x.x.x.x ping statistics ---
3 packets transmitted, 0 received, 100% packet loss, time 2031ms
We would need to use nmap command instead.
$ sudo apt update && sudo apt install -y nmap

$ nmap x.x.x.x
Starting Nmap 7.80 ( https://nmap.org ) at 2024-01-21 03:21 UTC
Note: Host seems down. If it is really up, but blocking our ping probes, try -Pn
Nmap done: 1 IP address (0 hosts up) scanned in 3.03 seconds

~$ nmap -Pn x.x.x.x
Starting Nmap 7.80 ( https://nmap.org ) at 2024-01-21 03:23 UTC
Nmap scan report for x.x.x.x
Host is up (0.0034s latency).
Not shown: 999 filtered ports
PORT     STATE SERVICE
3306/tcp open  mysql

Nmap done: 1 IP address (1 host up) scanned in 6.54 seconds
Now, we know that we are able to access the mysql instance from our Google Compute Engine, we can then proceed to install mariadb-client in order to manipulate our created database.
$ sudo apt update && sudo apt install -y mariadb-client

$ $ mysql -h x.x.x.x -u root -p
Enter password:
Welcome to the MariaDB monitor.  Commands end with ; or \g.
Your MySQL connection id is 527
Server version: 8.0.31-google (Google)

Copyright (c) 2000, 2018, Oracle, MariaDB Corporation Ab and others.

Type 'help;' or '\h' for help. Type '\c' to clear the current input statement.

MySQL [(none)]>
We can then run some quick commands to list our all databases on our instance
> Show databases;
+--------------------+
| Database           |
+--------------------+
| information_schema |
| mysql              |
| performance_schema |
| sys                |
+--------------------+
4 rows in set (0.005 sec)
Let’s add a new database from the UI on Google Cloud Console
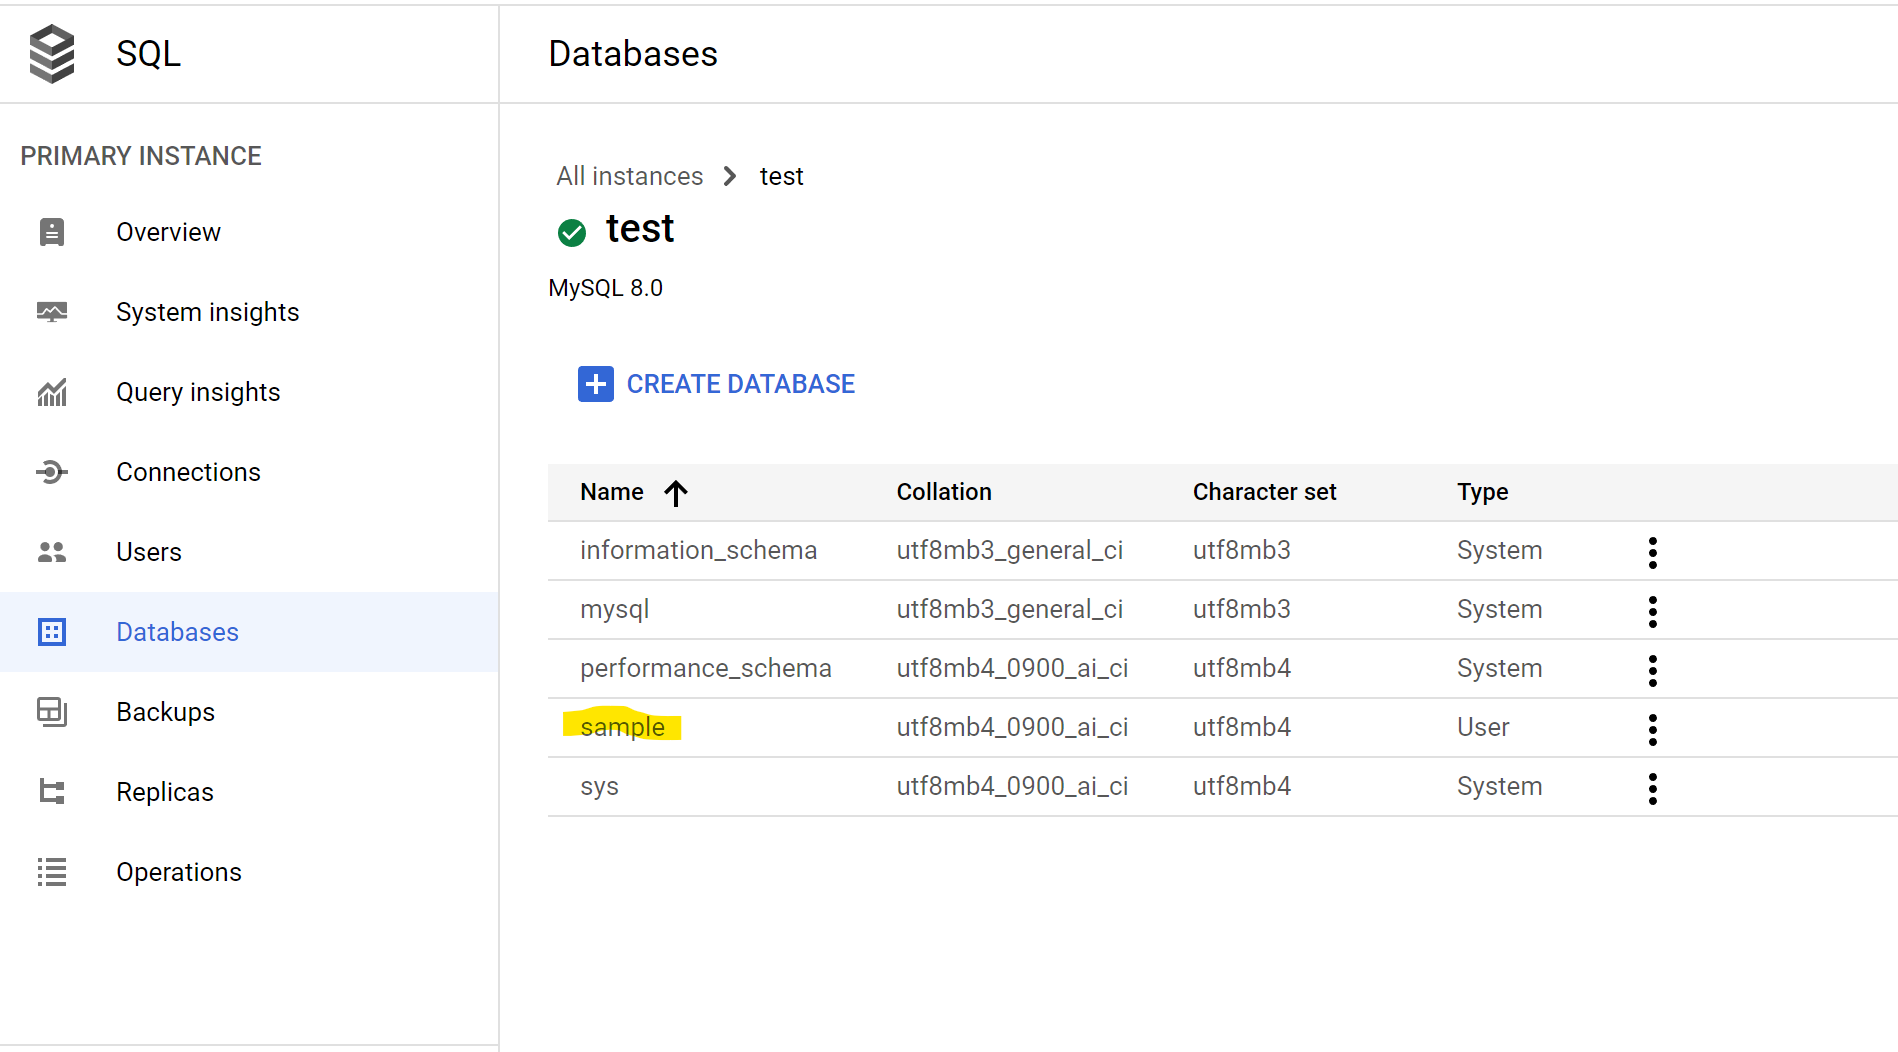
> Show databases;
+--------------------+
| Database           |
+--------------------+
| information_schema |
| mysql              |
| performance_schema |
| sample             |
| sys                |
+--------------------+
5 rows in set (0.003 sec)
Using the database with our application #
Surprisingly, our newly created user seem to have ability to manage the new sample database. That would be somewhat convenient as we don’t have to worry if our application won’t have the required permissions. The normal thing to do when we create users on a newly created sql database would be to grant it priviliges - but we don’t need to do it here.
> use mysql;
> select user from user;
> show grants for sample;
+-----------------------------------------------+
| Grants for sample@%                           |
+-----------------------------------------------+
| GRANT USAGE ON *.* TO `sample`@`%`            |
| GRANT `cloudsqlsuperuser`@`%` TO `sample`@`%` |
+-----------------------------------------------+
2 rows in set (0.008 sec)
The following code from this folder in my repo would serve as a quick way to test this: https://github.com/hairizuanbinnoorazman/Go_Programming/tree/master/Web/basicMigrate
First, we would need to compile and push the binary over to the server. At the same time, we would also need to create a new database called application. The migration scripts mentioned in our application only seem to connect to the database name application.
$ GOOS=linux CGO_ENABLED=0 go build -o app .
$ scp app hairizuan@146.148.92.172:app
$ DATABASE_USER=sample DATABASE_PASSWORD=sample DATABASE_HOST=10.92.64.6 DATABASE_NAME=application ./app migrate
Do note that the above practise is naturally a bad way to run our application; it would be way better to chuck the running of the application via tooling or scripts to ensure that the commands won’t be stored in some sort of history.
A silent response from the running of the application should hopefully mean that the application is run successfully and the database migration has completed with no issues. We can double check on this by going into our database and checking it:
> use application;
> show tables;
+-----------------------+
| Tables_in_application |
+-----------------------+
| schema_migrations     |
| users                 |
+-----------------------+
2 rows in set (0.004 sec)
Closing thoughts #
It’s finally nice to be no longer need to install another separate binary just so that we can utilize Cloud SQL. It does feel kind of counter-intuitive that such tooling is needed in the past but now, this is somewhat more aligned to how we would usually connect databases - simply point our binary to a host and its corresponding port.